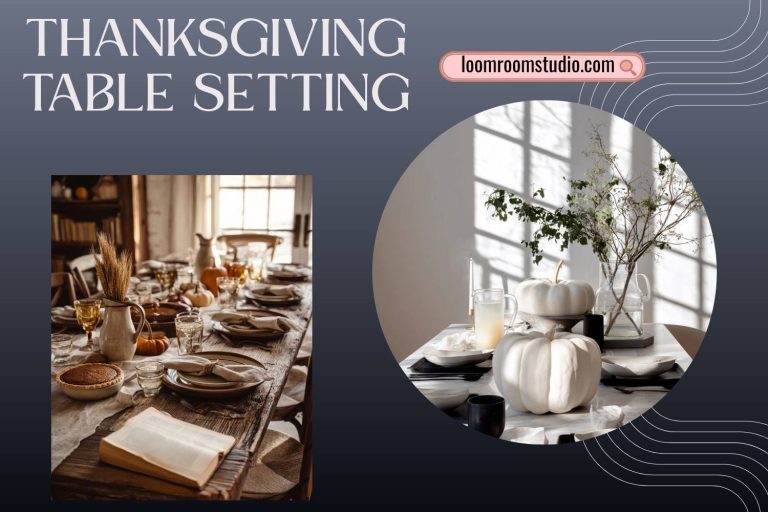
DIY Thanksgiving centerpieces can make your table feel warm and personal without a high cost. You do not need fancy flowers or special tools. You can use jars, pumpkins, dried stems, and simple candles you already have.
This post shares 10 centerpiece ideas based on cozy, lived-in scenes like rustic oak tables, kitchen counters, and small apartment dining spots. Each idea has easy steps, styling notes, and small details that look great in photos for Pinterest.
You will also find a Pro Design Tip and Budget Considerations for every centerpiece so you can match your space and your budget. Pick one idea or mix parts from a few to fit your home.
Scroll, save your favorite, and build a centerpiece that works with your dishes, napkins, and the light in your room, from sun-drenched late afternoon to soft twilight.
1. Mason Jar and Dried Wheat DIY Thanksgiving Centerpiece
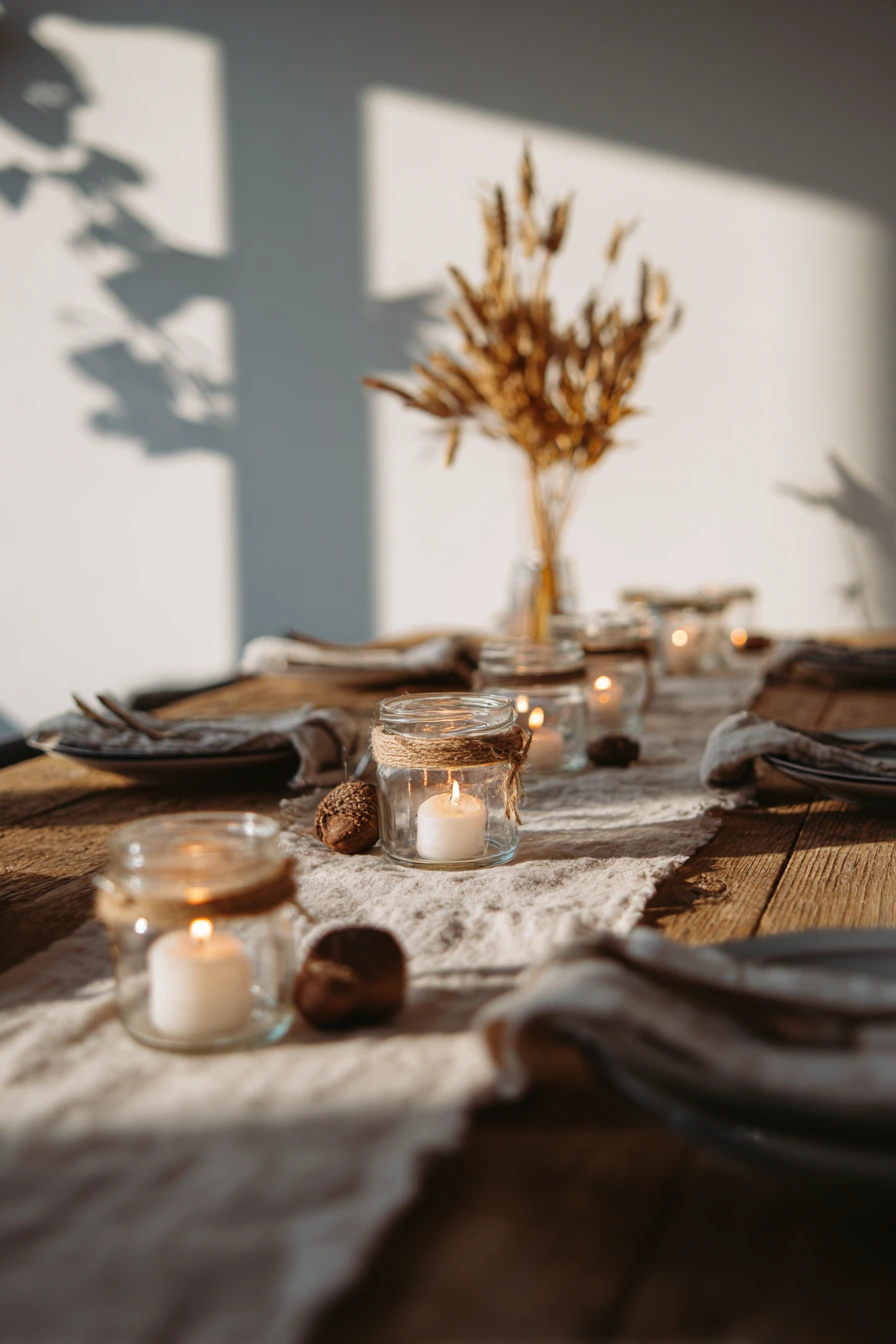
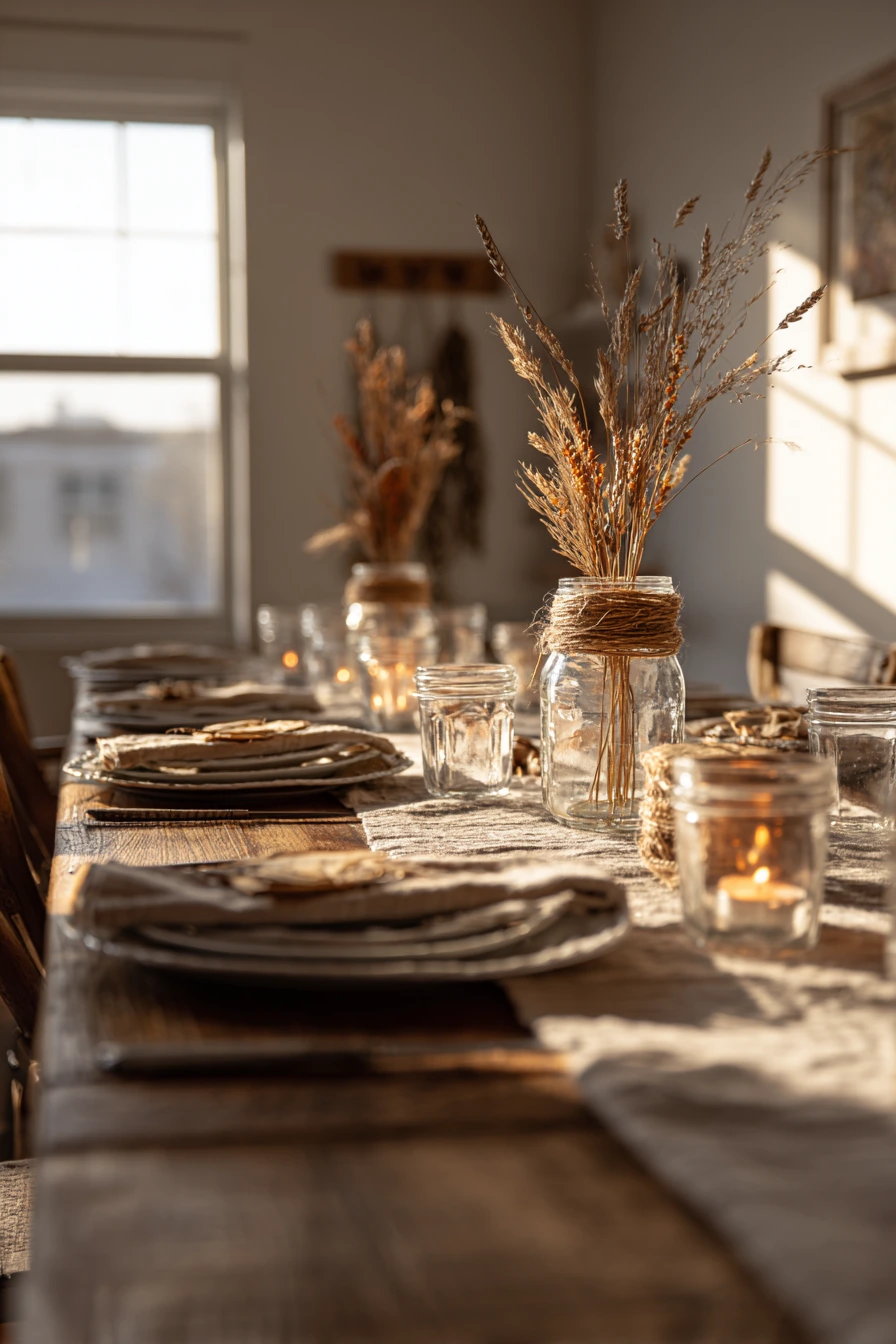
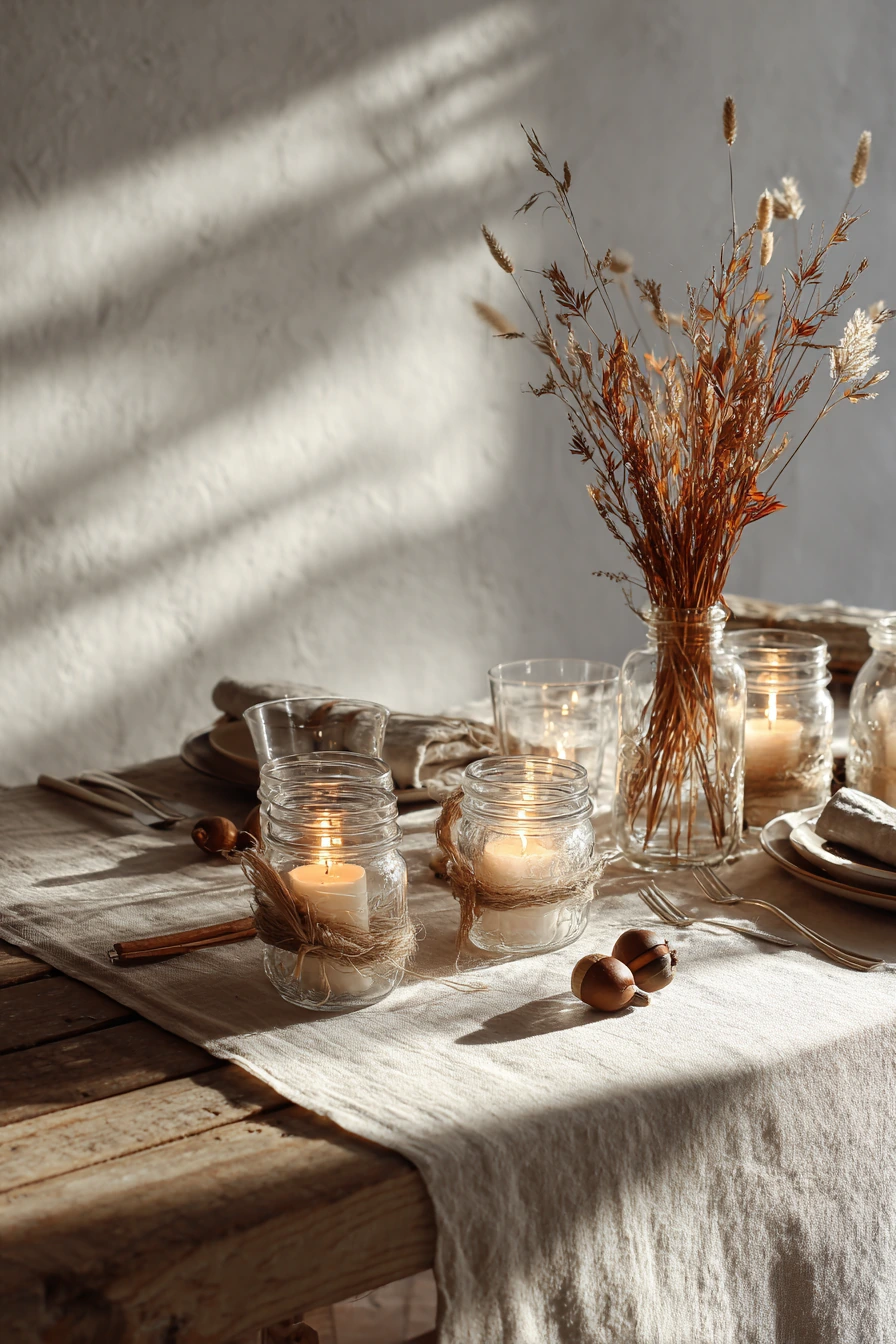
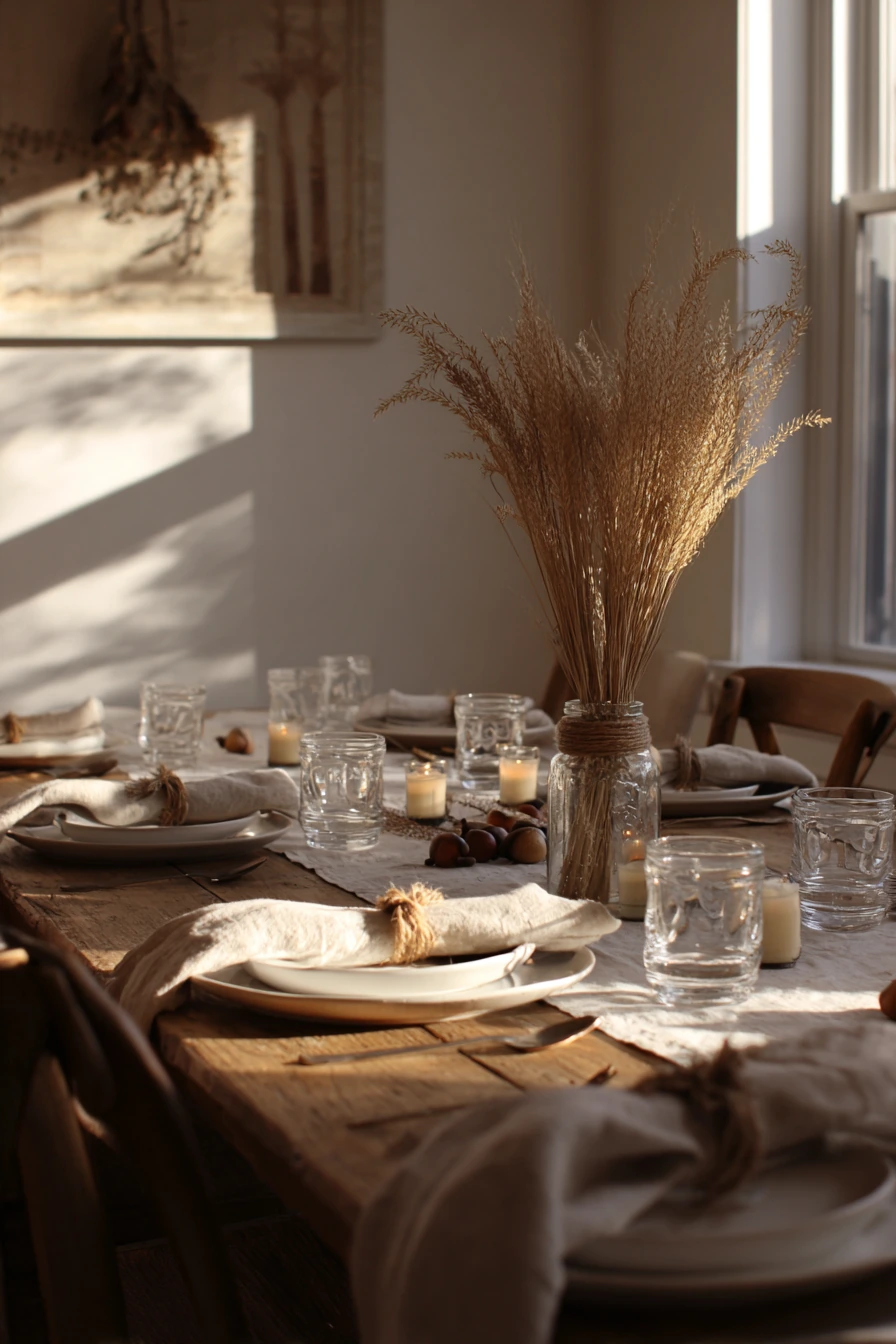
Hand-wrapped mason jars make a simple diy thanksgiving centerpiece that fits a farmhouse table. The glass catches late-afternoon window light, and the twine bow adds soft texture. Dried wheat stems bring height without blocking faces, and tiny tea lights add a calm flicker for dinner.
Start with 3 to 5 jars in a line down the center of a rustic oak table. Wrap each jar with twine, tie a small bow, then slide in a few wheat stems. Set a tea light in front of every other jar, not inside, so the glow reflects on the glass and feels brighter.
Finish with small scatter pieces like acorns and cinnamon sticks. Keep them in little clusters so the table still feels clean. Fold linen napkins and place them close to the centerpiece so the color and fabric tie everything together near half-filled water glasses.
- Use jars in two sizes for gentle height changes.
- Trim wheat stems so they sit just above eye level when seated.
- Group acorns in 3s so it looks neat, not messy.
- Add cinnamon sticks near candles for a cozy scent.
- Leave a clear space near plates so serving is easy.
Pro Design Tip: Keep the tallest stems toward the middle and shorter jars on the ends so the centerpiece reads as one shape, even in candid dining room photos.
Budget Considerations: Mason jars are often cheapest in multi-packs; if you only need a few, thrift stores and recycling bins can be the best source.
2. Hollowed Pumpkin Centerpiece With Eucalyptus and Pinecones
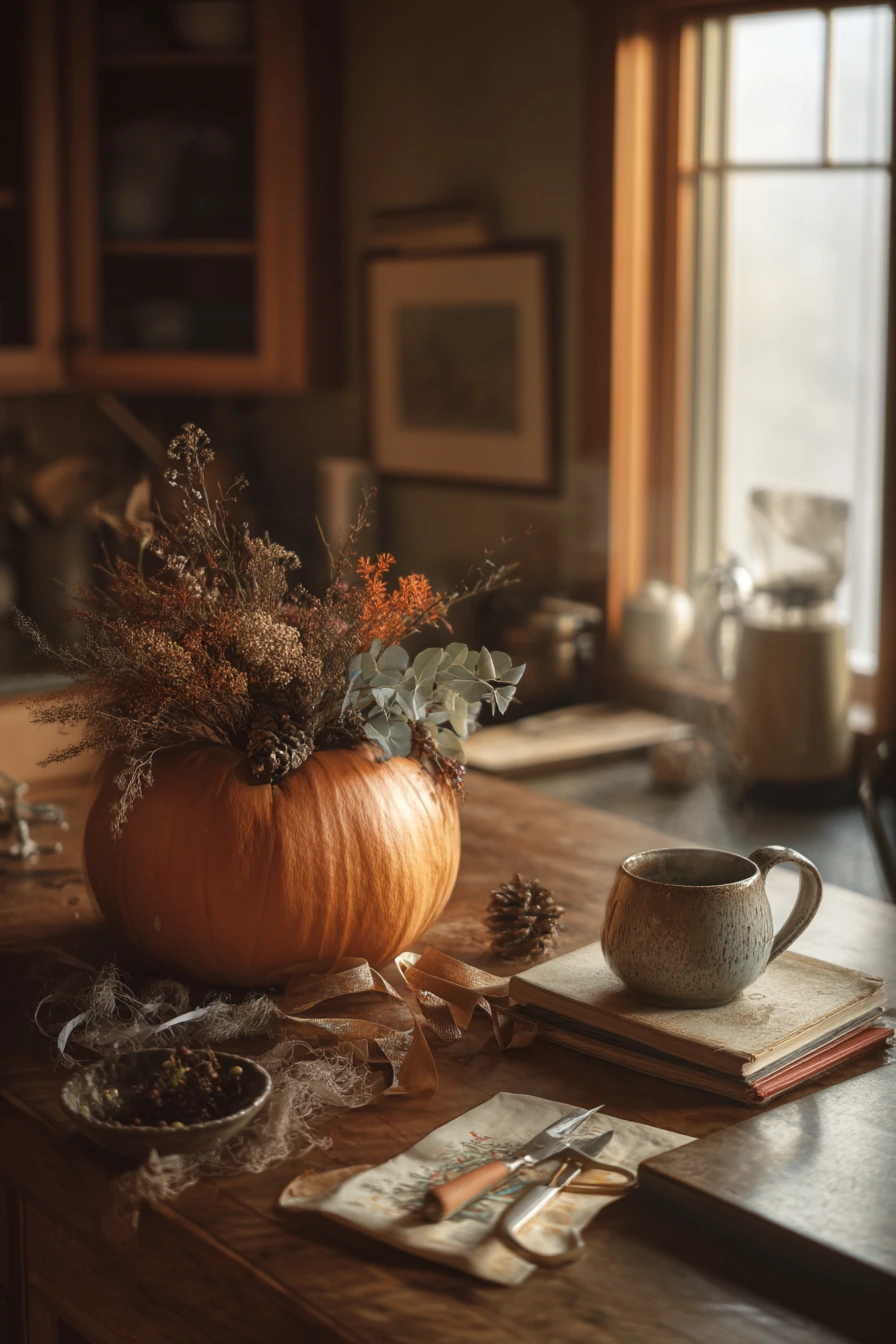
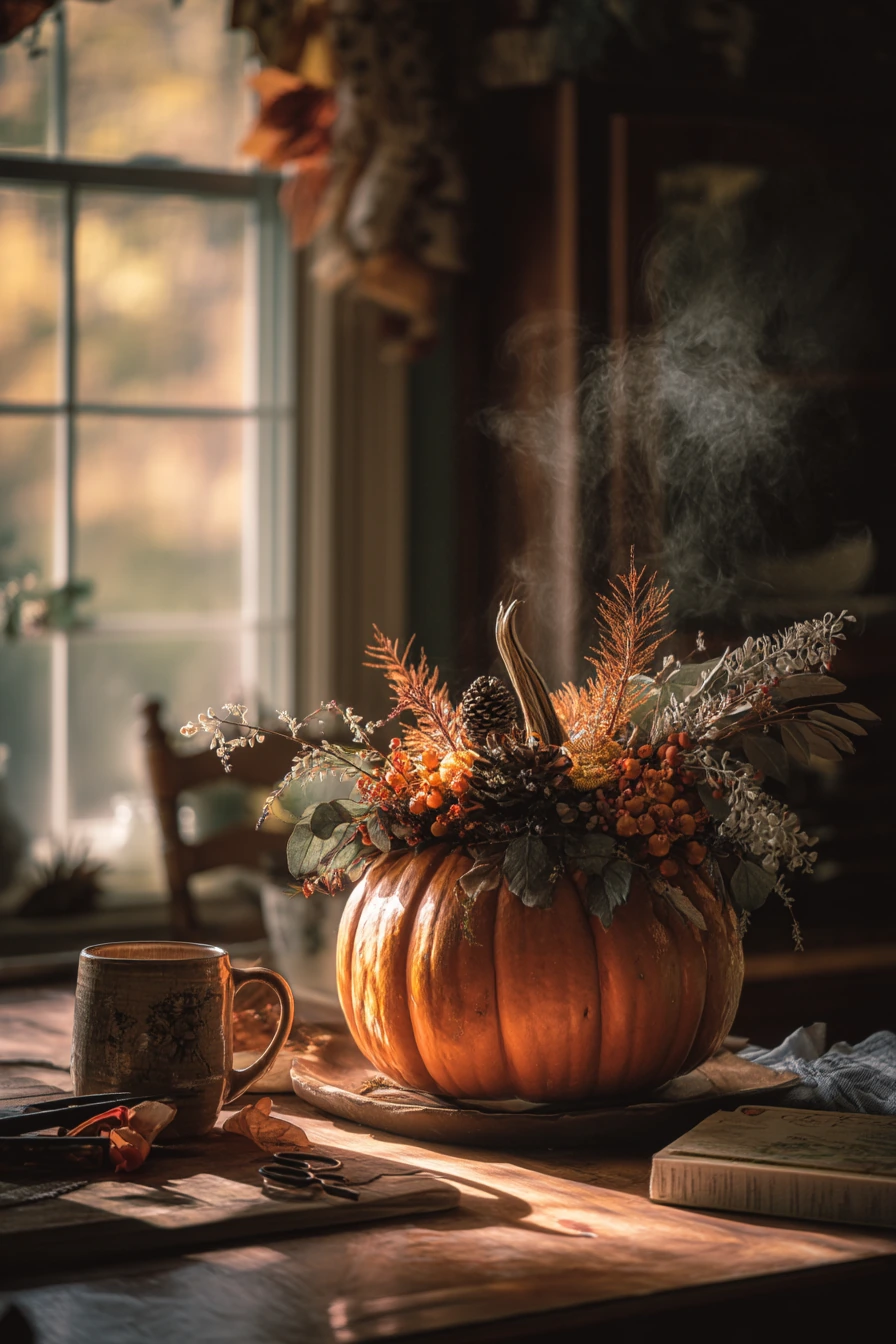
A hollowed pumpkin centerpiece is a classic Thanksgiving look, but the details make it feel real and homey. Eucalyptus sprigs, pinecones, and muted berries give an earthy autumn palette. It also hides kitchen clutter well, so it works on a counter or side table while you cook.
Choose a medium pumpkin with a flat bottom so it sits steady. Cut a lid, scoop it clean, and line the inside with a bowl or a small container. This keeps the pumpkin from getting wet and helps it last longer. Add eucalyptus first for a soft base, then tuck in pinecones and berry stems.
Style it with everyday items nearby for a warm, lived-in feel, like a cookbook stack, scissors, and ribbon scraps off to one side. If you have a child’s crayon drawing, slide it under a small board or frame and let it peek out. That small detail reads as family and keeps the table from looking too perfect.
- Pick a pumpkin that feels heavy and firm, with no soft spots.
- Use a hidden bowl liner so stems stay fresh longer.
- Angle eucalyptus out and down to soften the edges.
- Mix small and medium pinecones for texture.
- Keep berries low so they do not block conversation.
Pro Design Tip: Repeat one color from the pumpkin in your napkins or place cards so the centerpiece looks planned, not random.
Budget Considerations: Fresh eucalyptus can add cost; swap in grocery store greens or trim branches from your yard if you have safe, clean options.
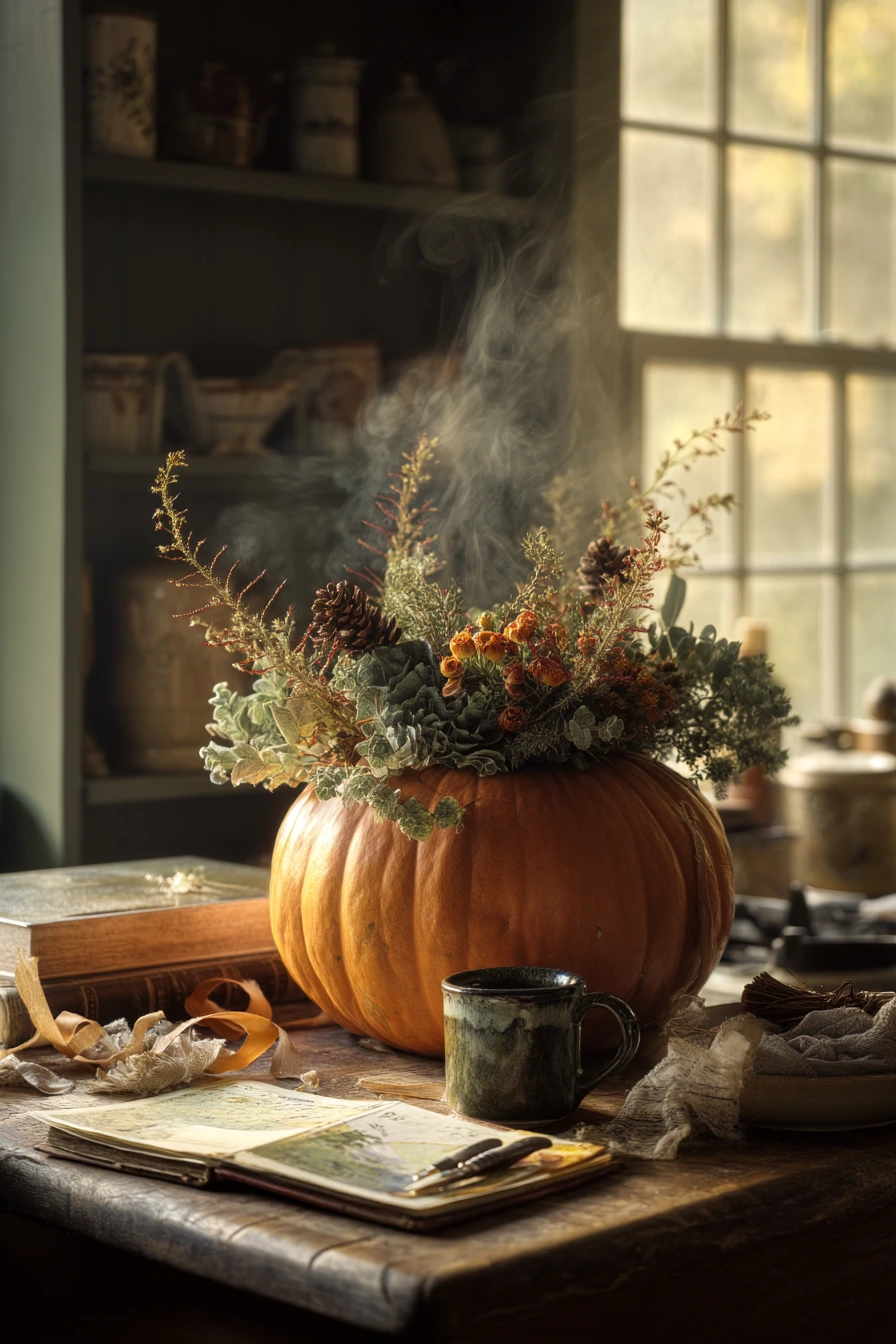

3. Reclaimed Tray Centerpiece With Mini Gourds and Dried Orange Slices
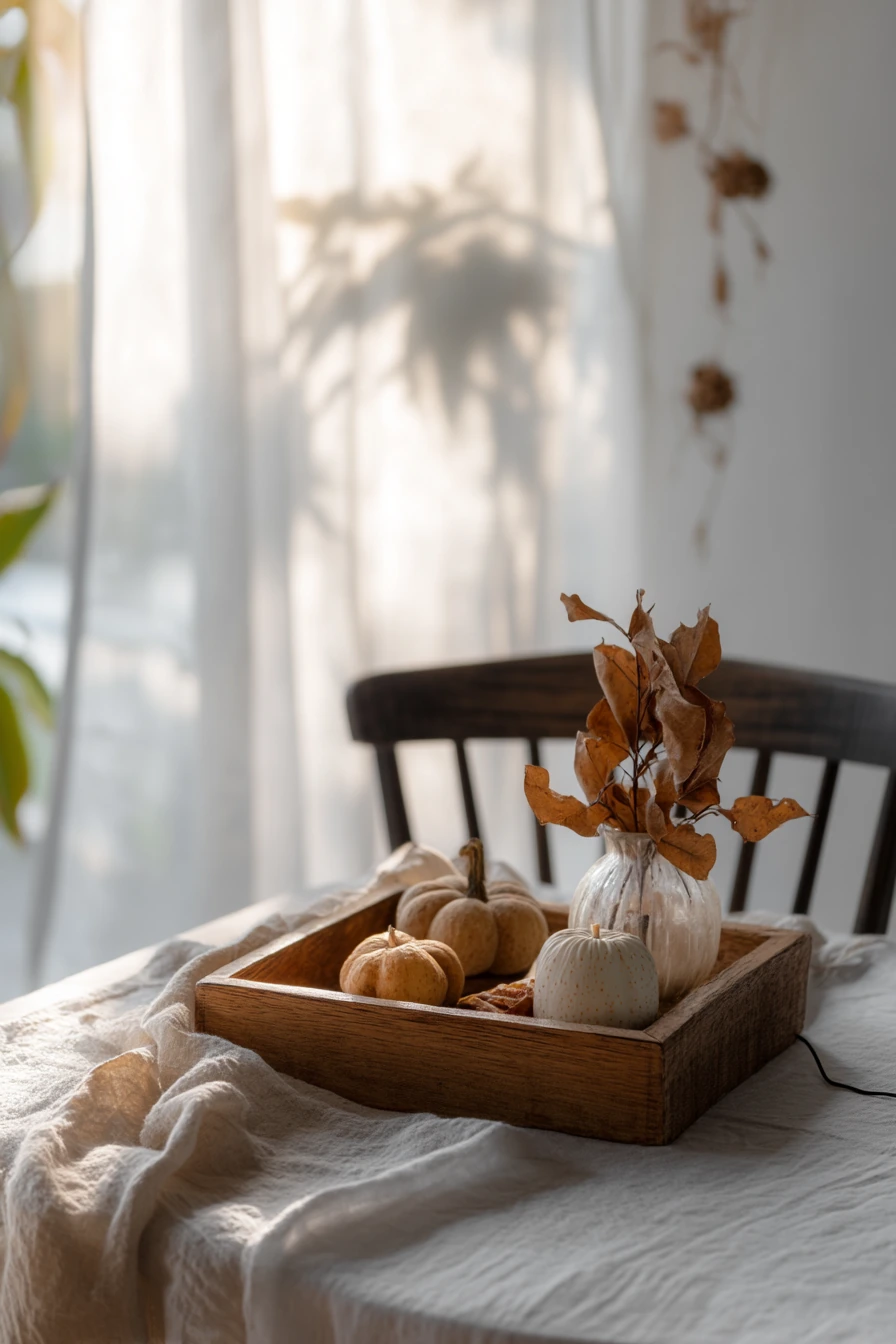

A reclaimed wooden tray makes a tidy base for a simple diy thanksgiving centerpiece. It keeps small items together, which is helpful in a breakfast nook or a small dining area. Mini gourds, soy candle stubs, and dried orange slices feel calm and natural, especially with airy neutral textures and morning light.
Start with a tray that is long enough to stretch across the center of the table but narrow enough to leave room for plates. Place candles first, then tuck mini gourds around them. Add dried orange slices in small stacks or lean them against a gourd so they show their color.
To style it like a real home, keep a soft throw on a chair and do not worry about perfect lines. If you have a phone charging cable near the table, just route it along the edge so the scene feels lived-in, not cluttered. The tray helps the centerpiece stay the focus even with normal life nearby.
- Use 3 candles in different heights for balance.
- Choose gourds in two tones, like cream and green.
- Add 6 to 10 dried orange slices for a warm pop of color.
- Place heavier items near the middle so the tray feels stable.
- Leave some empty wood showing so it does not look crowded.
Pro Design Tip: Use one “hero” item, like a larger gourd in the center, then build smaller pieces around it so the eye knows where to land.
Budget Considerations: If you do not have a tray, use a cutting board or a shallow baking sheet you already own, then cover it with kraft paper for a softer look.
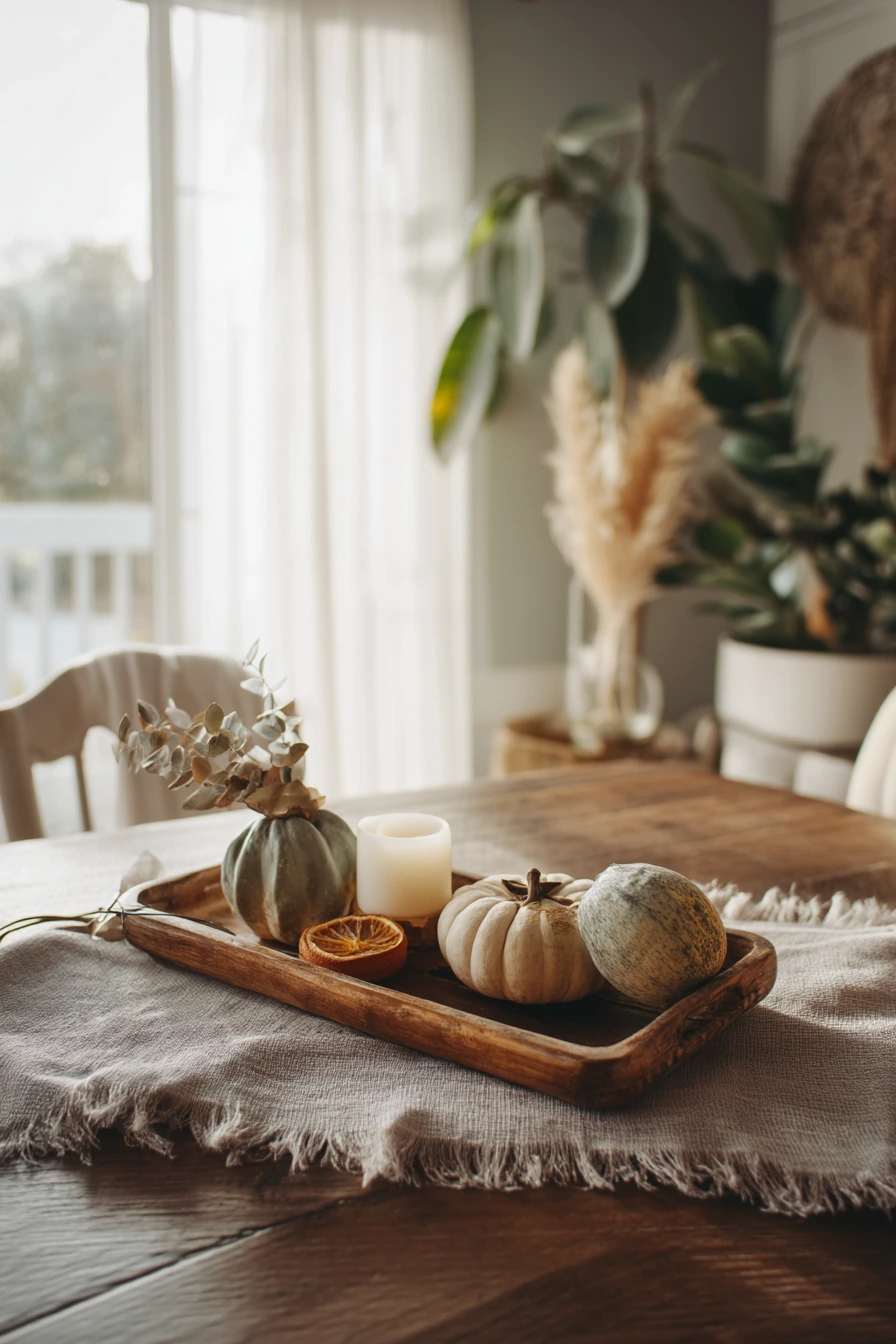

4. Upcycled Glass Bottle Centerpiece With Burlap and Backyard Florals

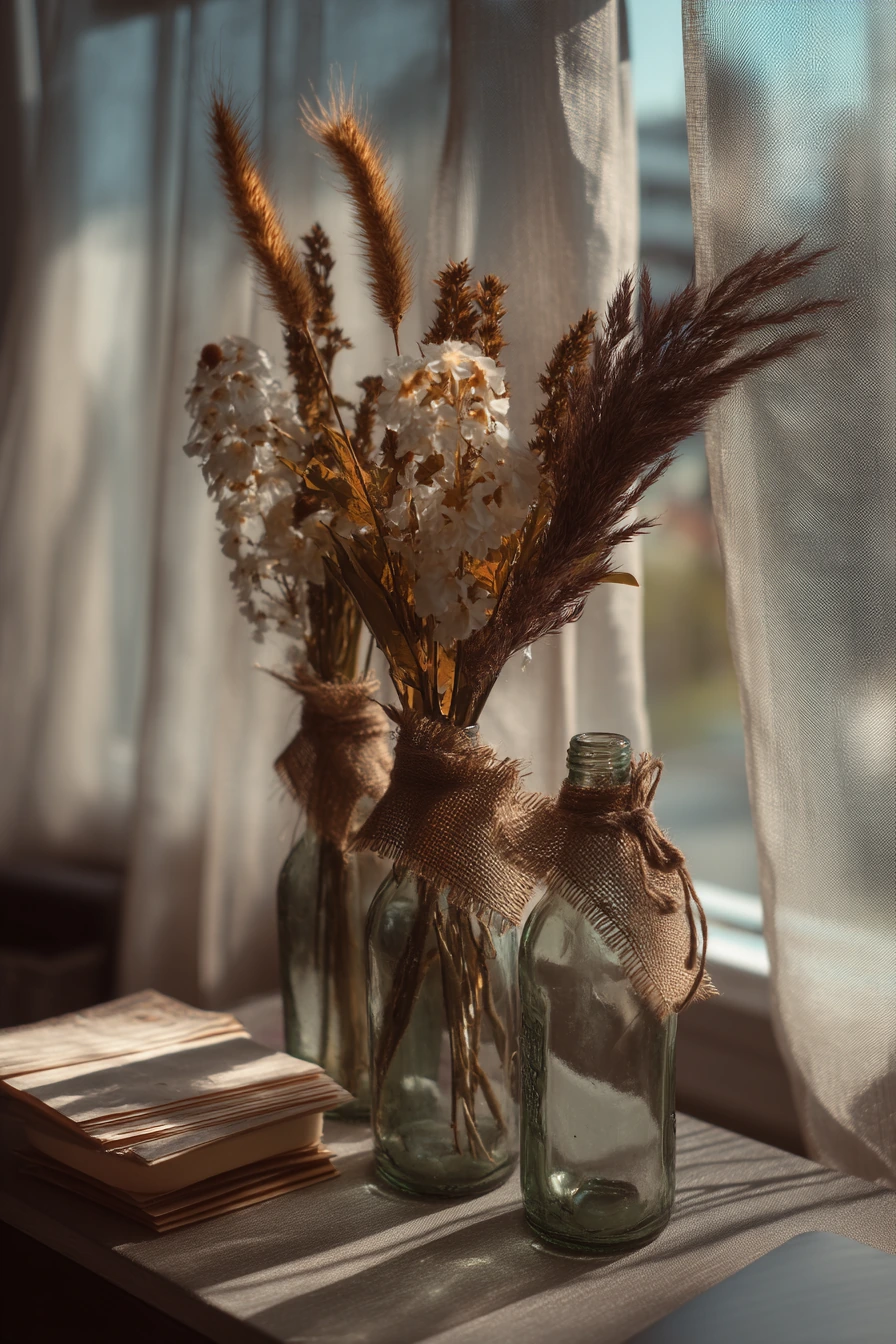
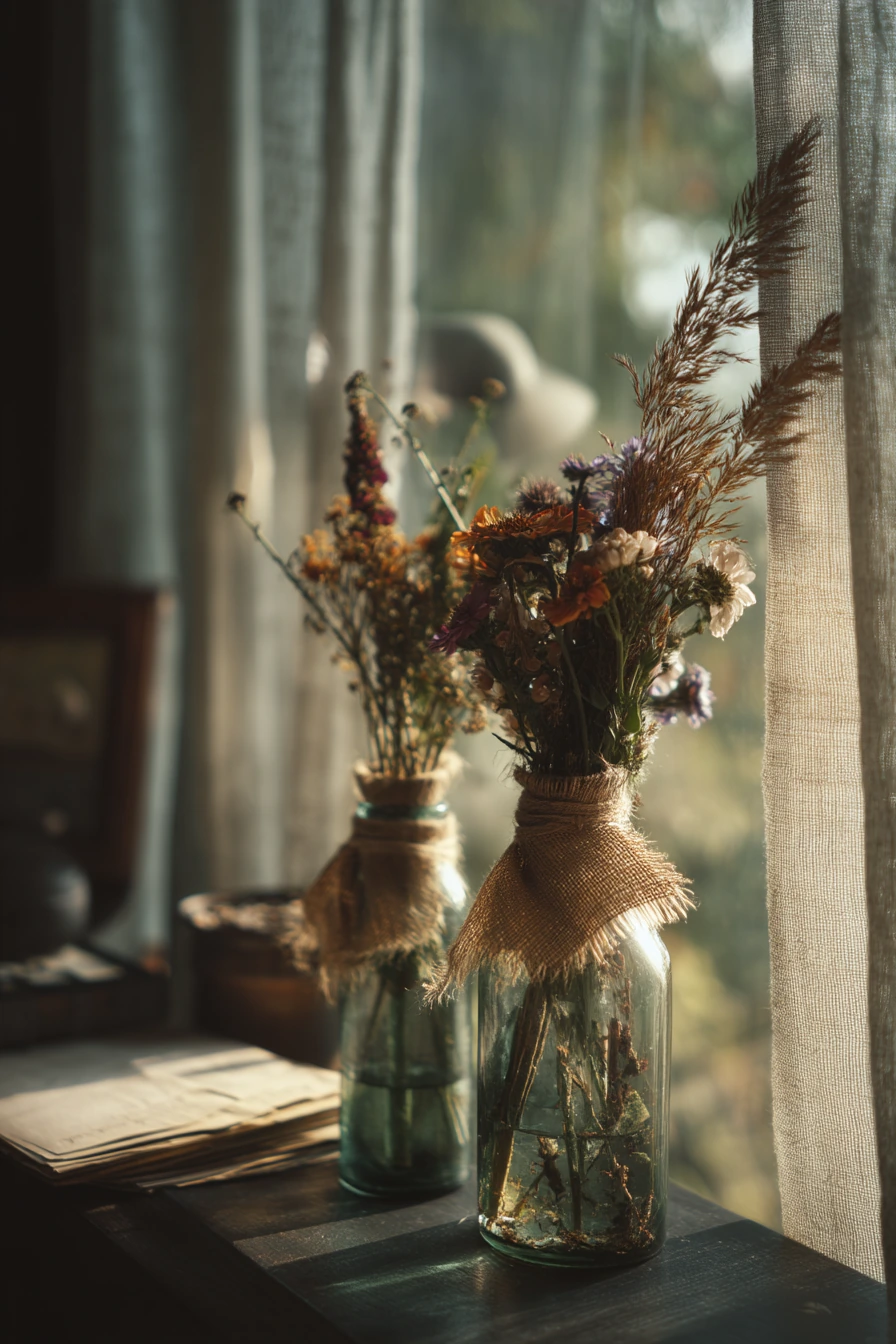
Upcycled glass bottles are a great diy thanksgiving centerpiece for small spaces. They fit a narrow apartment table and still feel special. Burlap ribbon adds texture, and wild backyard florals with feathery grasses bring movement without a big flower budget.
Collect 5 to 7 bottles in different shapes, like old soda, olive oil, or vinegar bottles. Wash them well and remove labels. Tie a short strip of burlap ribbon around each neck, then add a few stems per bottle. Keep the stems loose so they look relaxed, and cut them short enough that they do not fall over.
When you style this centerpiece, make room for real life. If you have stacked mail or an open laptop on the table, push them to one end and keep the bottles in a clean row on the other. Cool autumn daylight through sheer curtains makes glass highlights sparkle, so place the bottles where the light hits the sides.
- Pick bottles in a similar color family for a calm look.
- Use one type of grass in several bottles to repeat texture.
- Add 1 to 2 small flowers in only a few bottles so it stays simple.
- Space bottles a hand’s width apart for a clean line.
- Use a small tray under them if your table is uneven.
Pro Design Tip: Keep the tallest bottle near the center and step down in height on both sides for a balanced silhouette in overhead photos.
Budget Considerations: Backyard stems are free, but florals can fade fast; if you need longer life, mix in faux grasses from a dollar store.

5. Cranberry-Filled Hurricane Vase Centerpiece With Place Cards

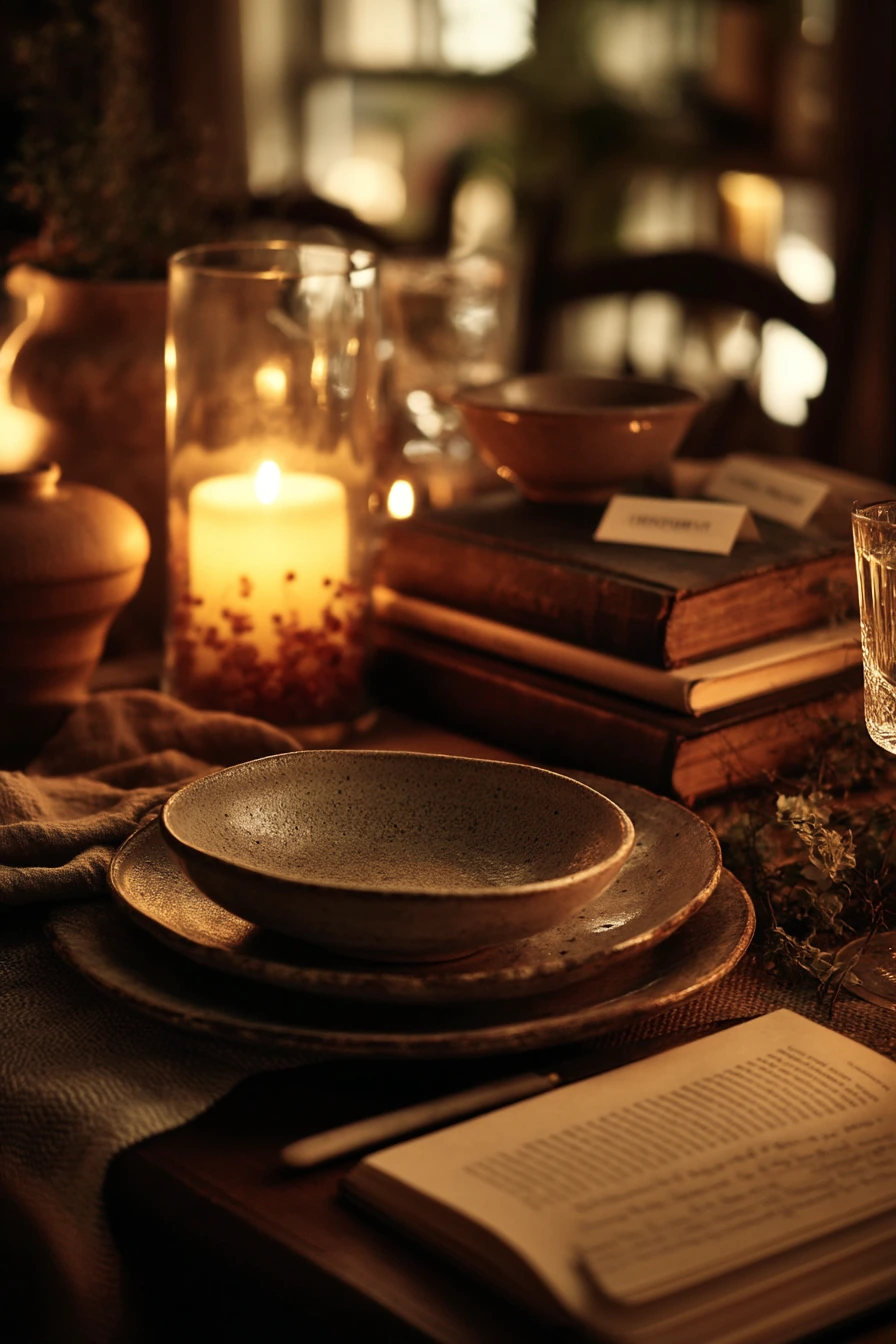
A cranberry-filled hurricane vase centerpiece looks rich but is very easy to make. The red berries glow under warm lamplight, and the water adds shine. This style fits cozy dinner setups with handmade place cards, linen runners, and even slightly chipped ceramic plates that feel real and loved.
Choose one large hurricane vase or two medium ones. Pour in fresh cranberries, then add water until they float and spread out. Place a pillar candle inside if your vase has an inner cylinder, or float small candles on top if the bowl is wide and safe for it. Keep the candle height low so it feels intimate from a conversational dining angle.
Style the rest of the table so it feels soft, not stiff. Add a paperback novel under the linen runner at one end for a casual touch, then place your handmade place cards near the plates. The cranberry color also pairs well with neutral napkins, warm wood, and simple greenery.
- Rinse cranberries first so the water stays clear.
- Use room temperature water to reduce bubbles on glass.
- Place candles on a heat-safe base if needed.
- Keep place cards close to the centerpiece for a layered look.
- Add a few rosemary sprigs for a fresh scent and green contrast.
Pro Design Tip: Use odd numbers, like one large vase or three small ones, so the centerpiece looks natural and not too matched.
Budget Considerations: Hurricane vases can be pricey; thrift stores often have tall glass cylinders that work the same way.


6. Handwoven Basket Centerpiece With Apples, Corn Husks, and Sage
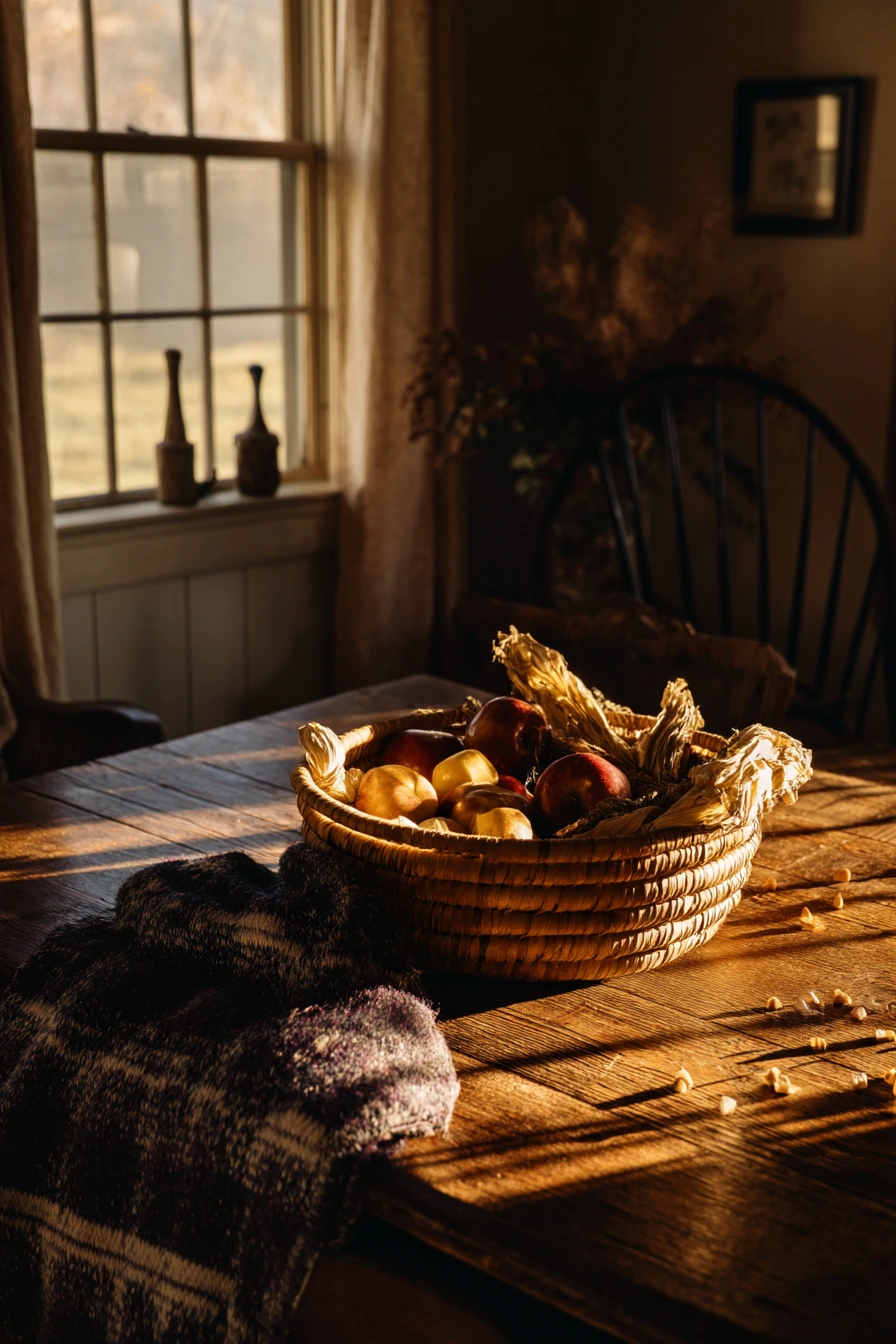
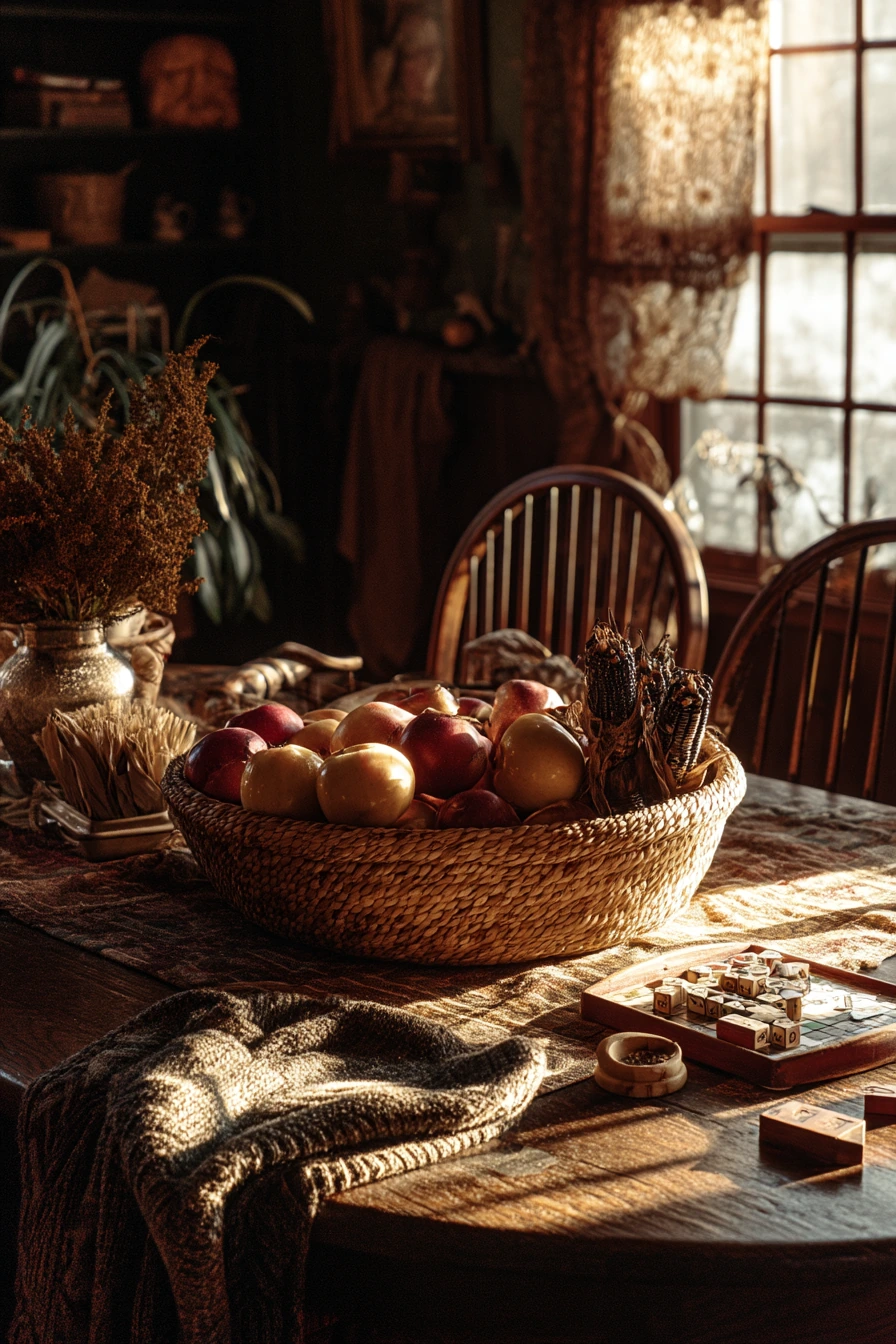
A handwoven basket centerpiece is perfect if you want a rustic, countryside mood. Apples add color and weight, dried corn husks add texture, and sage bundles give a gentle herbal scent. This centerpiece works well for families because it is sturdy and easy to move when food arrives.
Pick a low, wide basket so it does not block views across the table. Line it with a linen towel or kraft paper, then layer in apples first to build a solid base. Tuck dried corn husks around the edges for volume. Finish with sage bundles on top so they are easy to pick up and use later in the kitchen.
To keep it lived-in, let the table show signs of the day, like family board game pieces near the edge or a rumpled knit sweater on a chair back. Golden late-day window glow and plant shadows make the basket look warm and real. This centerpiece also pairs well with simple plates and wood serving boards.
- Choose apples in two shades, like red and gold, for depth.
- Use 6 to 10 apples, depending on basket size.
- Fan corn husks outward to soften the basket rim.
- Tie sage with twine so bundles stay neat.
- Leave the center slightly open so it does not look overstuffed.
Pro Design Tip: Add one taller element, like a few dried stems in the back, but keep it off-center so the basket arrangement feels casual.
Budget Considerations: Basket prices vary; if you do not have one, use a shallow wooden bowl or even a cardboard box wrapped in a neutral cloth.


7. Herb Pot DIY Thanksgiving Centerpiece With Terracotta Planters


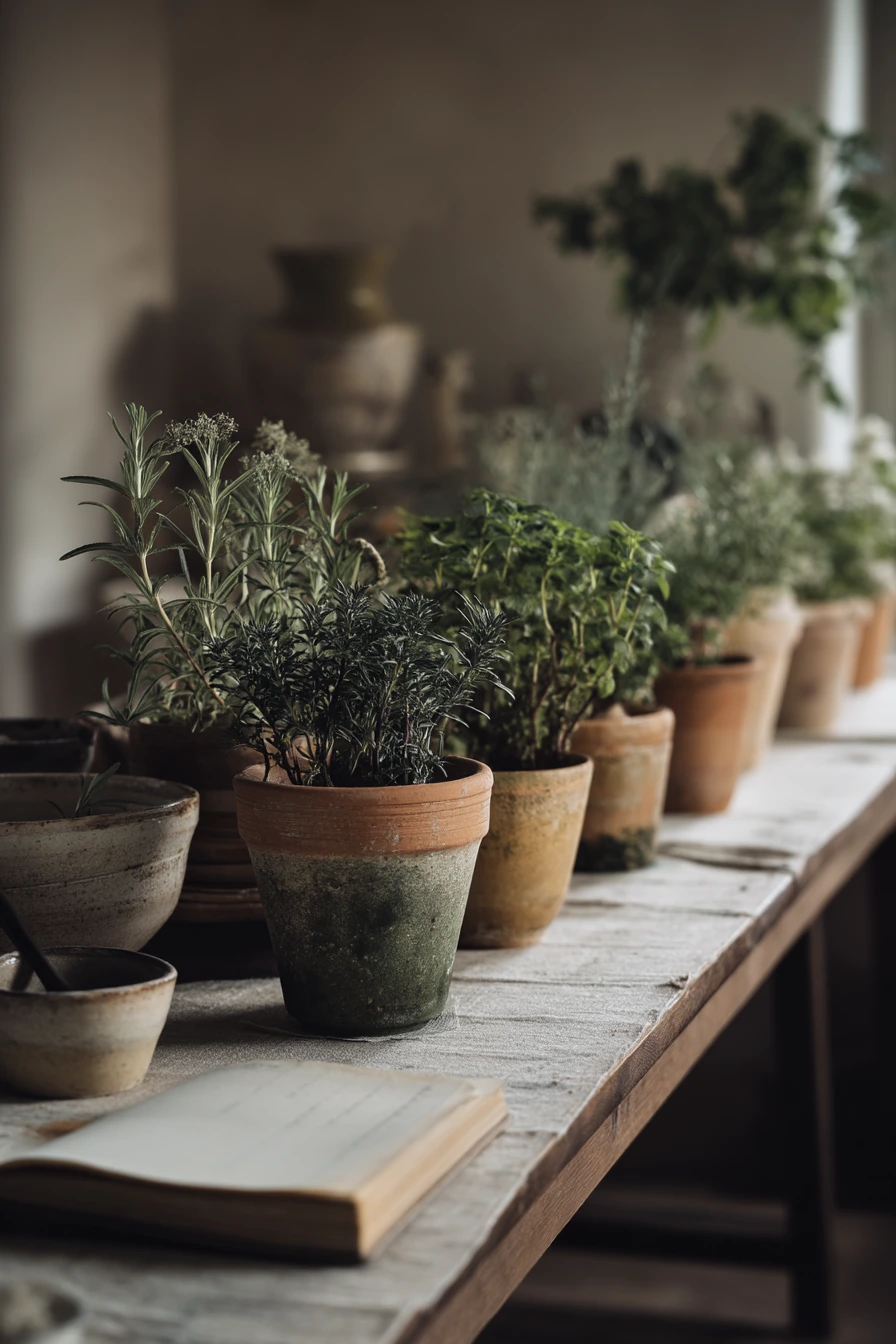
An herb centerpiece in mismatched terracotta pots is pretty, useful, and easy to keep fresh. The dusty olive tones and earthy textures feel grounded. This style is great if you like a natural look and you want something that can move to the kitchen after dinner.
Line up 3 to 7 small pots on a slim dining bench or down the center of the table. Mix herbs like rosemary, thyme, sage, and parsley. Keep the pots close so they read as one centerpiece, not separate plants. You can set a small tray under them to protect the table.
For styling, let it feel like real cooking is happening. An open recipe notebook with a few flour smudges looks honest and warm. Keep utensils nearby, but put the mess to one side so the herbs stay the focus. Morning skylight makes terracotta look soft, so place the pots where the light is even.
- Use herbs with different leaf shapes for texture.
- Add a little moss or pea gravel on top of the soil to look clean.
- Keep pot colors similar, even if sizes vary.
- Water lightly the day before so the soil is not wet on the table.
- Tuck name tags into pots to double as place markers.
Pro Design Tip: Repeat the same herb at least twice, like rosemary in two pots, to create a simple pattern that looks styled.
Budget Considerations: Grocery store herb plants are often cheaper than nursery pots; use basic terracotta and skip decorative planters.

8. Floating Maple Leaf and Candle Bowl Centerpiece


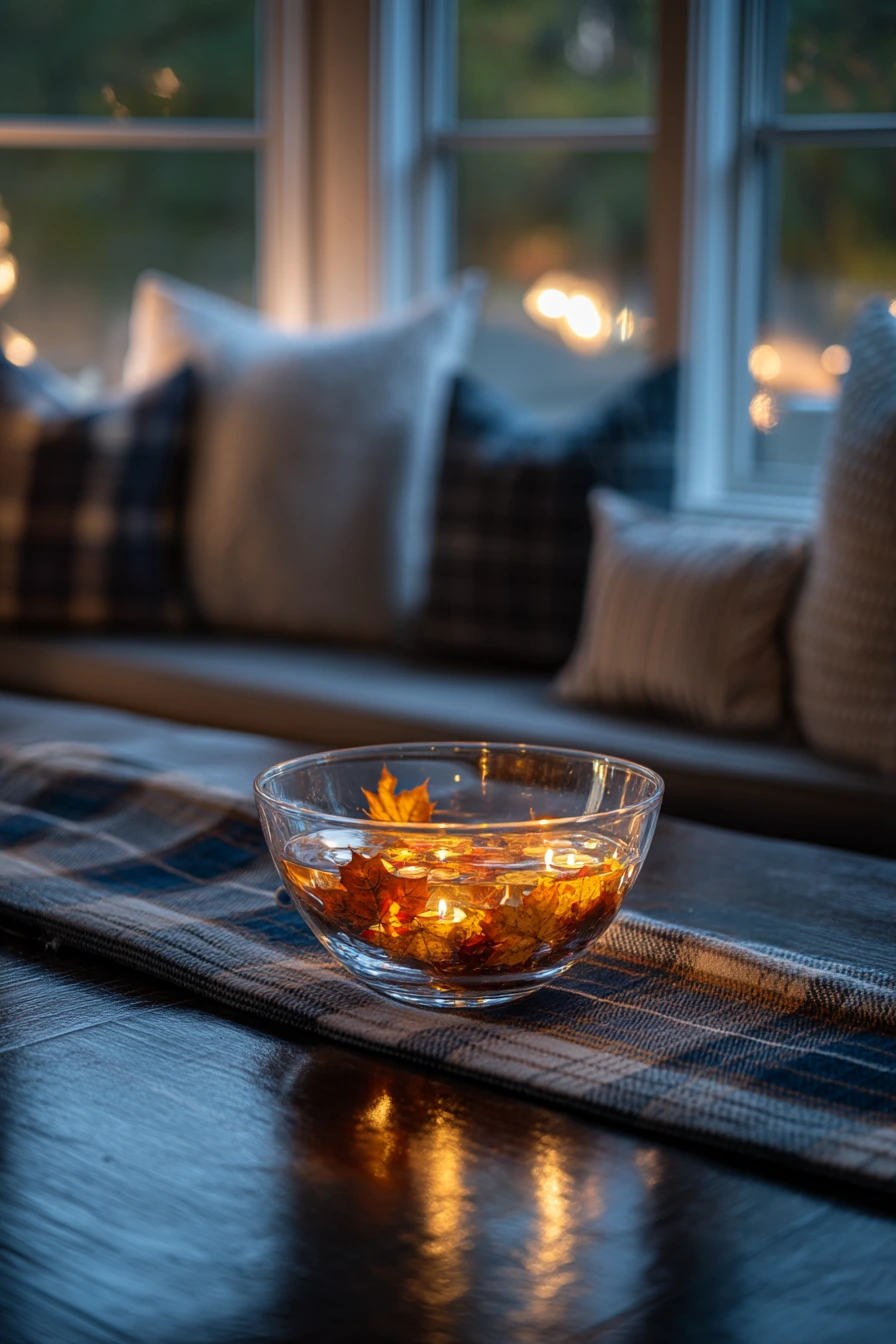
A clear bowl with floating maple leaves and tiny candles is a quick diy thanksgiving centerpiece for the evening. The reflected flickers look beautiful on a polished table, and the mix of cool dusk tones with amber glow feels calm. This is also low-profile, so it works well for small tables and close conversations.
Fill a wide, clear bowl with water. Add a few maple leaves, real or faux, and spread them out so they do not clump. Then add floating candles or tea lights made for floating. Keep the number low so it feels soft, not bright. If you use real leaves, rinse them and pat dry first.
Style it with a slightly wrinkled plaid runner to add pattern without trying too hard. A window seat stacked with cushions nearby makes the scene cozy. This centerpiece looks best when the room light is dim, and the candles do the work, so turn off harsh overhead lights and use a lamp instead.
- Use a bowl that is wide and shallow for better reflections.
- Add 5 to 8 leaves so the surface still shows water.
- Use 3 floating candles for an even glow.
- Place the bowl on a heat-safe mat if your table is delicate.
- Keep extra leaves nearby to refresh the look before guests arrive.
Pro Design Tip: Choose leaves in two tones, like rust and golden brown, so the bowl reads clearly in low light.
Budget Considerations: Floating candles can cost more per piece; regular tea lights in small glass holders around the bowl give a similar glow for less.

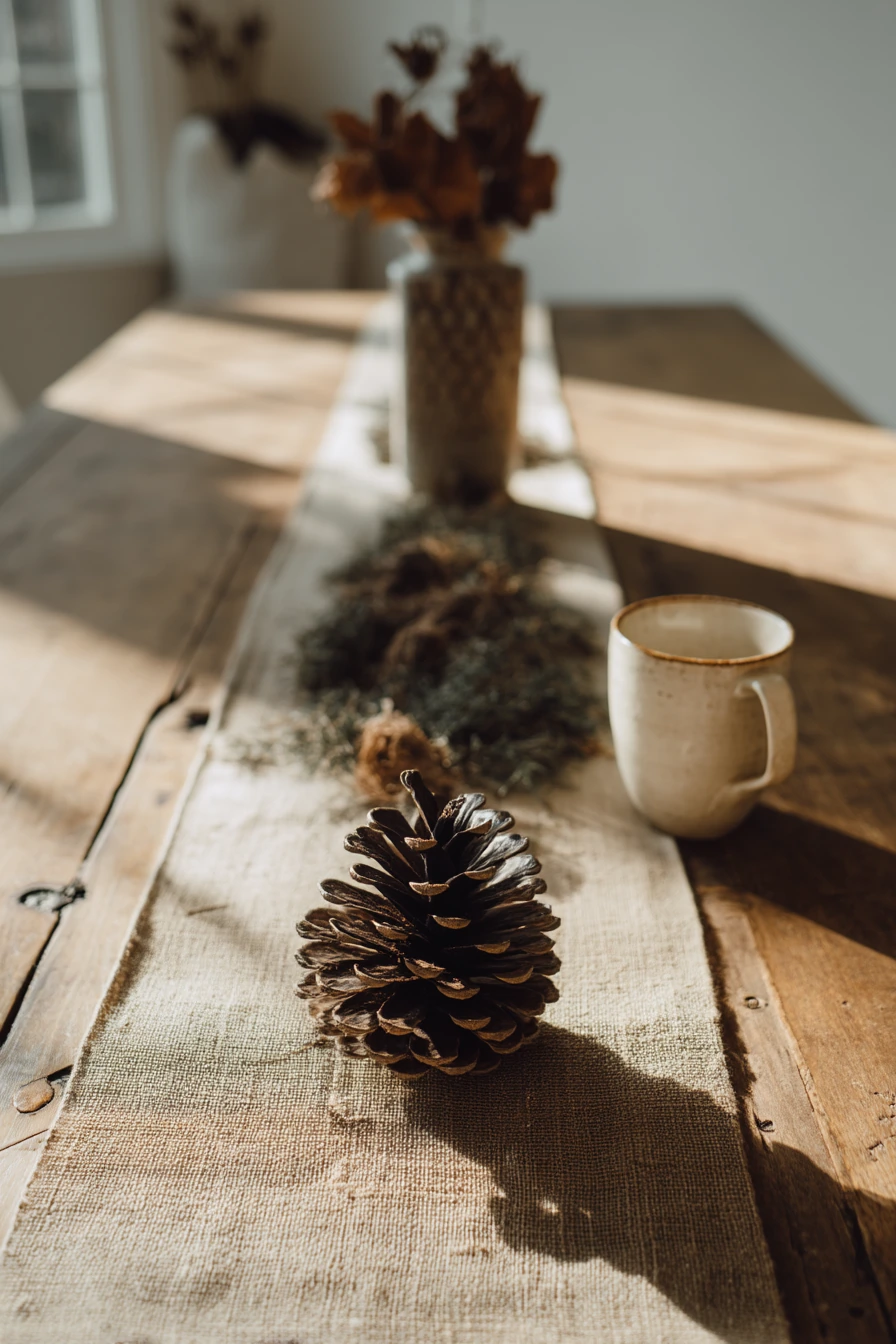
9. Pinecone and Dried Moss Centerpiece Along a Burlap Runner
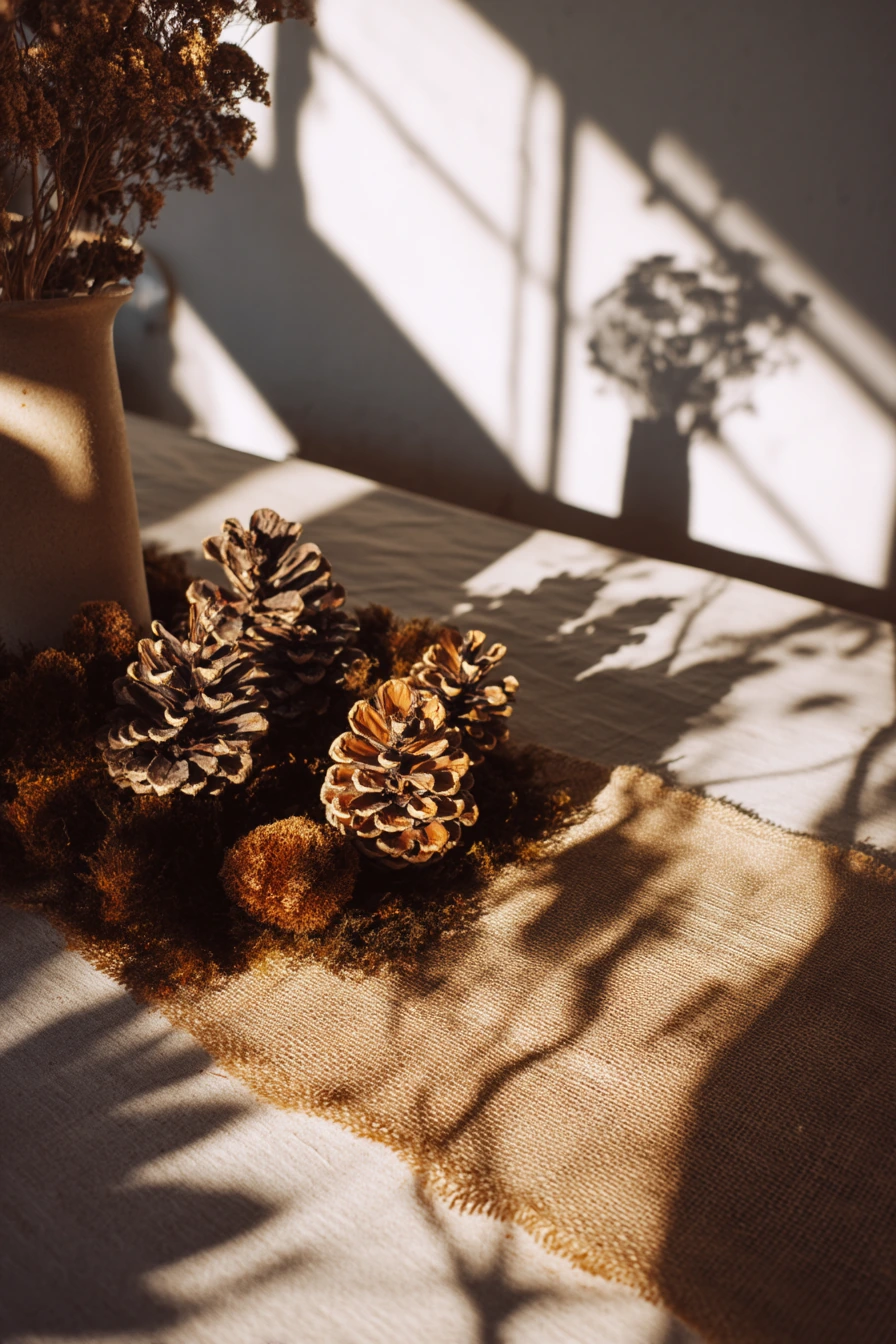

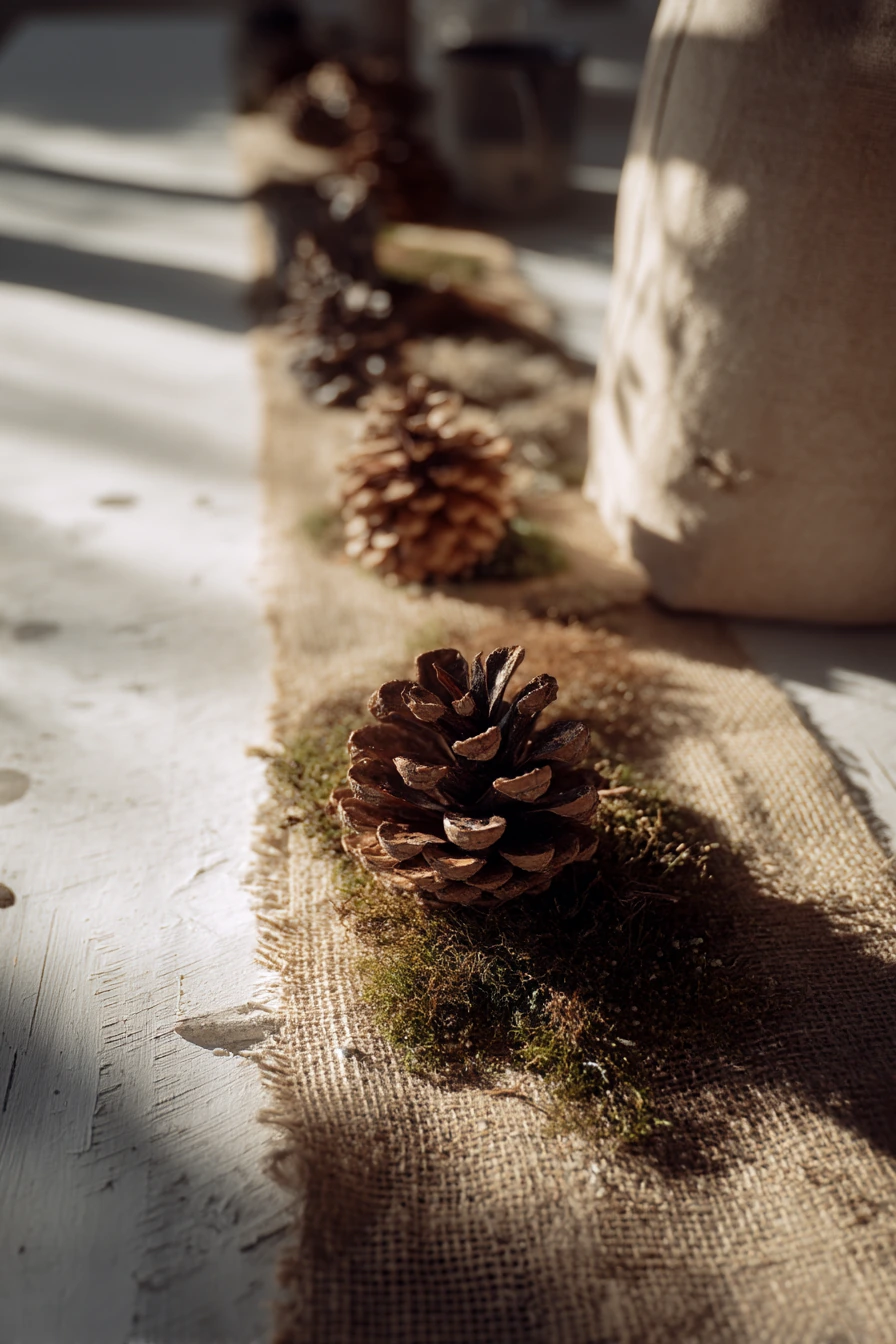
Pinecones and dried moss make an understated harvest centerpiece that feels very farmhouse. Arranged loosely along a burlap runner, it looks natural and easy. It also hides everyday marks like coffee mug ring stains, so your table feels ready without a full reset.
Lay a burlap runner down the center. Place larger pinecones first, then fill gaps with smaller ones. Tuck in patches of dried moss, keeping it light and airy. You can add a few small branches or seed pods if you have them, but do not overdo it. Crisp noon daylight brings out the textures, so this is great for daytime gatherings.
To style it like a real home, let a grocery tote sit by the table leg or keep a mug nearby on a coaster. The key is balance: the centerpiece should feel calm, while the room still looks lived-in. If your walls are whitewashed, the soft botanical shadows will make the runner and pinecones stand out even more.
- Use a runner long enough to extend past the centerpiece on both ends.
- Mix pinecones in different sizes for a natural look.
- Keep moss in small tufts, not a solid line.
- Add 2 to 4 candles in glass holders for evening use.
- Shake out burlap outside first to reduce shedding.
Pro Design Tip: Leave small breaks in the pinecone line so the runner shows through and the arrangement feels intentional.
Budget Considerations: Pinecones can be free if you collect them; dried moss can add cost, so use it sparingly or swap in clipped evergreen bits.
10. Vintage Teapot Flower Centerpiece With Chrysanthemums


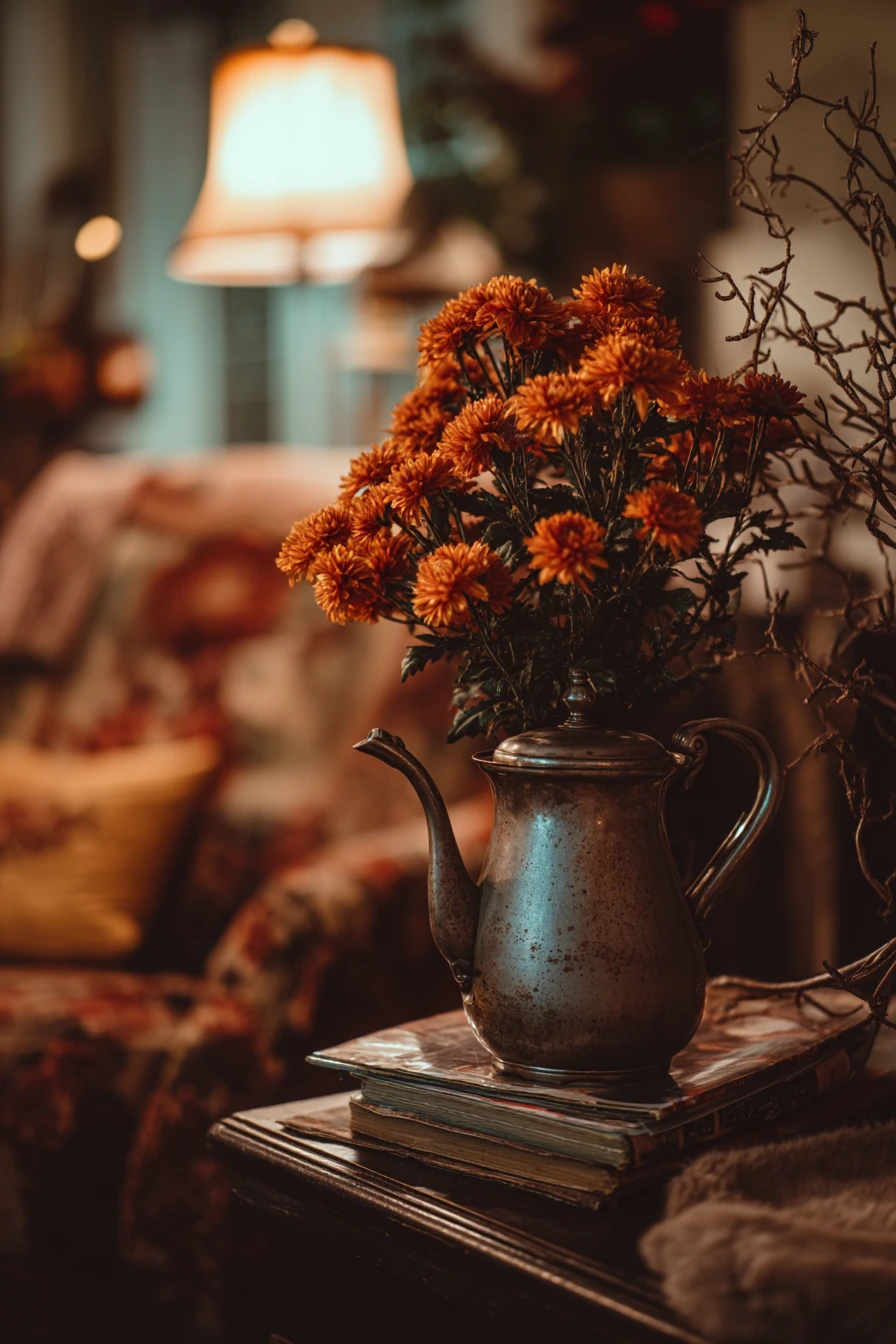
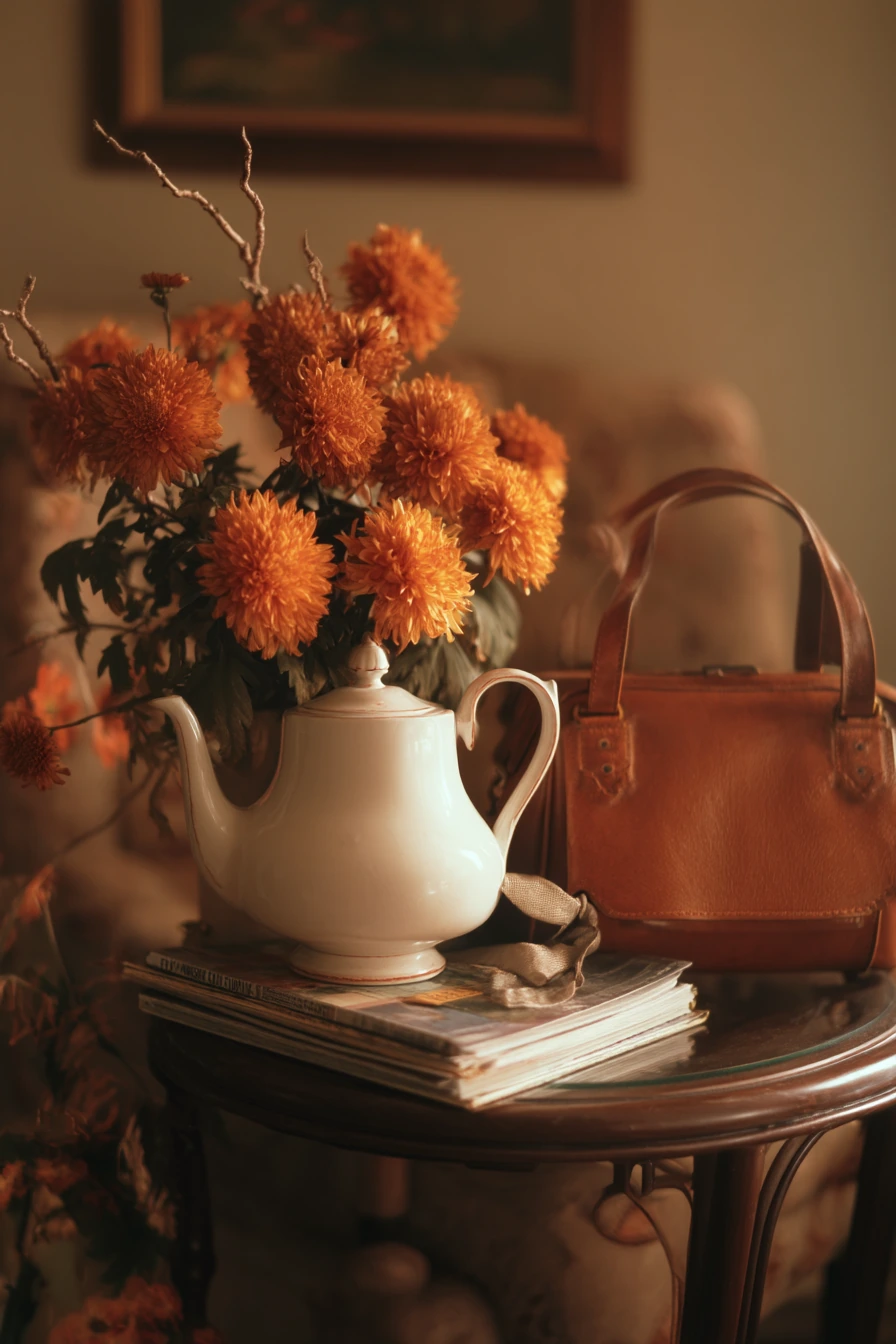
A repurposed vintage teapot centerpiece is a sweet way to bring in color without buying a new vase. Burnt-orange chrysanthemums feel right for Thanksgiving, and wispy branches add height. This look is warm and nostalgic, especially with soft lamplight in the evening.
Choose a teapot with a wide opening, or remove the lid and use the top opening. Place a small jar inside the teapot to hold water and protect the pot if it is special. Add mums first, then tuck branches behind them so the flowers stay the focus. Keep the arrangement slightly loose so it feels natural.
Style it with items that match the cozy mood, like old magazines stacked on a chair or a soft leather bag nearby. This helps the centerpiece feel part of your life, not a display. Pair it with simple linens and warm plates so the orange tones look rich, not loud.
- Use 5 to 7 chrysanthemum stems for a small teapot.
- Trim stems at an angle so they drink water well.
- Add 2 to 3 thin branches for height and shape.
- Turn the teapot spout toward an empty spot on the table for a clean view.
- Keep the arrangement low enough to talk over it.
Pro Design Tip: Pick flowers with one main color and one accent color so the teapot looks like a strong focal point, not a mix of everything.
Budget Considerations: Thrifted teapots are usually low cost; if flowers are expensive, use one bouquet of grocery store mums and split it across two small centerpieces.
DIY Thanksgiving centerpieces do not need to be hard or costly. A few jars, a pumpkin, a bowl of cranberries, or a line of herbs can make your table feel warm and ready.
Pick a style that fits your home and your light, then keep the height low and the textures varied. Small details like linen, twine, and candles help everything look pulled together.
FAQ
1. How far in advance can I make a Thanksgiving centerpiece? Most dry centerpieces can be made 3 to 7 days ahead. Fresh florals and herbs look best when made 1 to 2 days before.
2. What is the best centerpiece height for a dining table? Keep most pieces under 10 to 12 inches so people can see each other. Use taller items only if they are very airy.
3. How do I keep a pumpkin centerpiece from getting messy? Scoop it clean and use a bowl liner inside. Keep water contained and avoid soaking the pumpkin.
4. What can I use instead of flowers? Try wheat stems, eucalyptus, herbs, pinecones, dried orange slices, or branches from your yard.
5. How do I make my centerpiece look good in photos? Use odd numbers, repeat one color from your napkins or plates, and leave some empty space so it does not look crowded.
6. Are candles safe on a Thanksgiving table? Use sturdy holders, keep flames away from leaves and fabric, and never leave candles unattended. Battery tea lights are a good swap with kids or pets.
Choose one idea from this list, then add your own twist. Your table will feel like you, and that is what guests remember.